Testing a Raspberry Pi 4 with SPI TFT Screen
Today, my Raspberry Pi 4 and TFT/case bundle came in the mail, so I decided to give it a spin and see how it works. This will be used for an upcoming project that I will not spoil.
Assembly
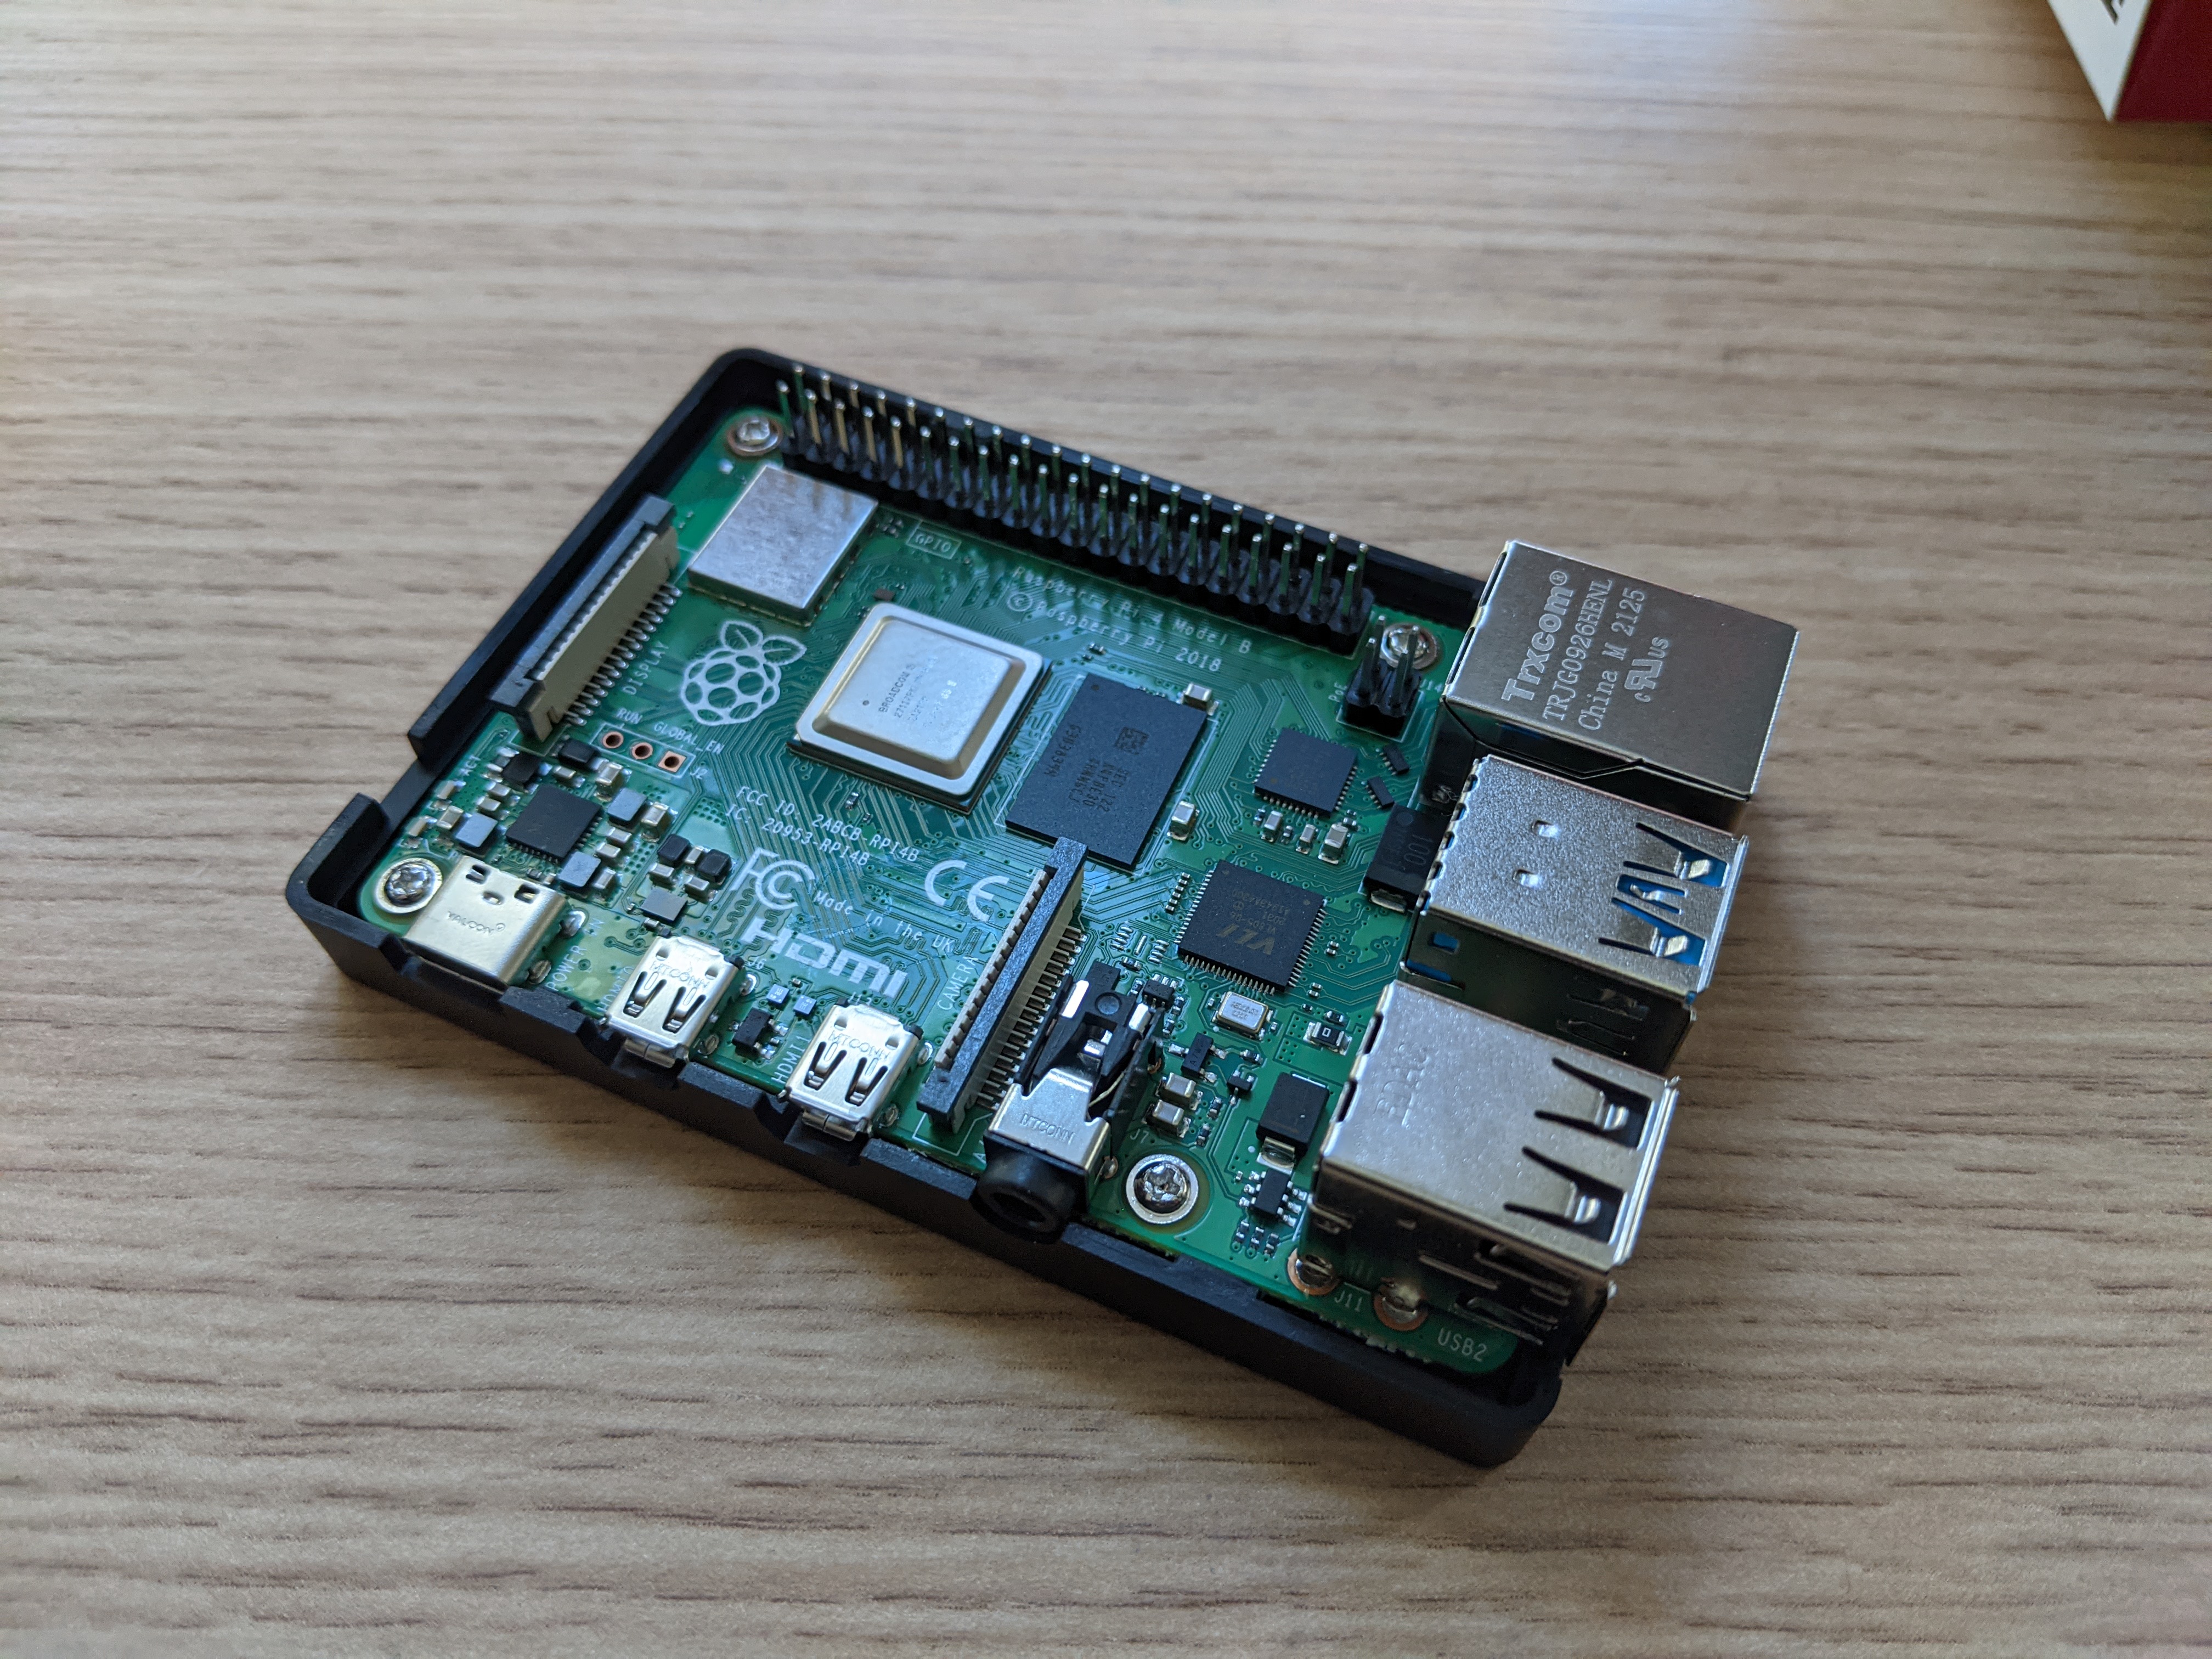
The case came with 4 screws to screw the Pi into the bottom of the case.
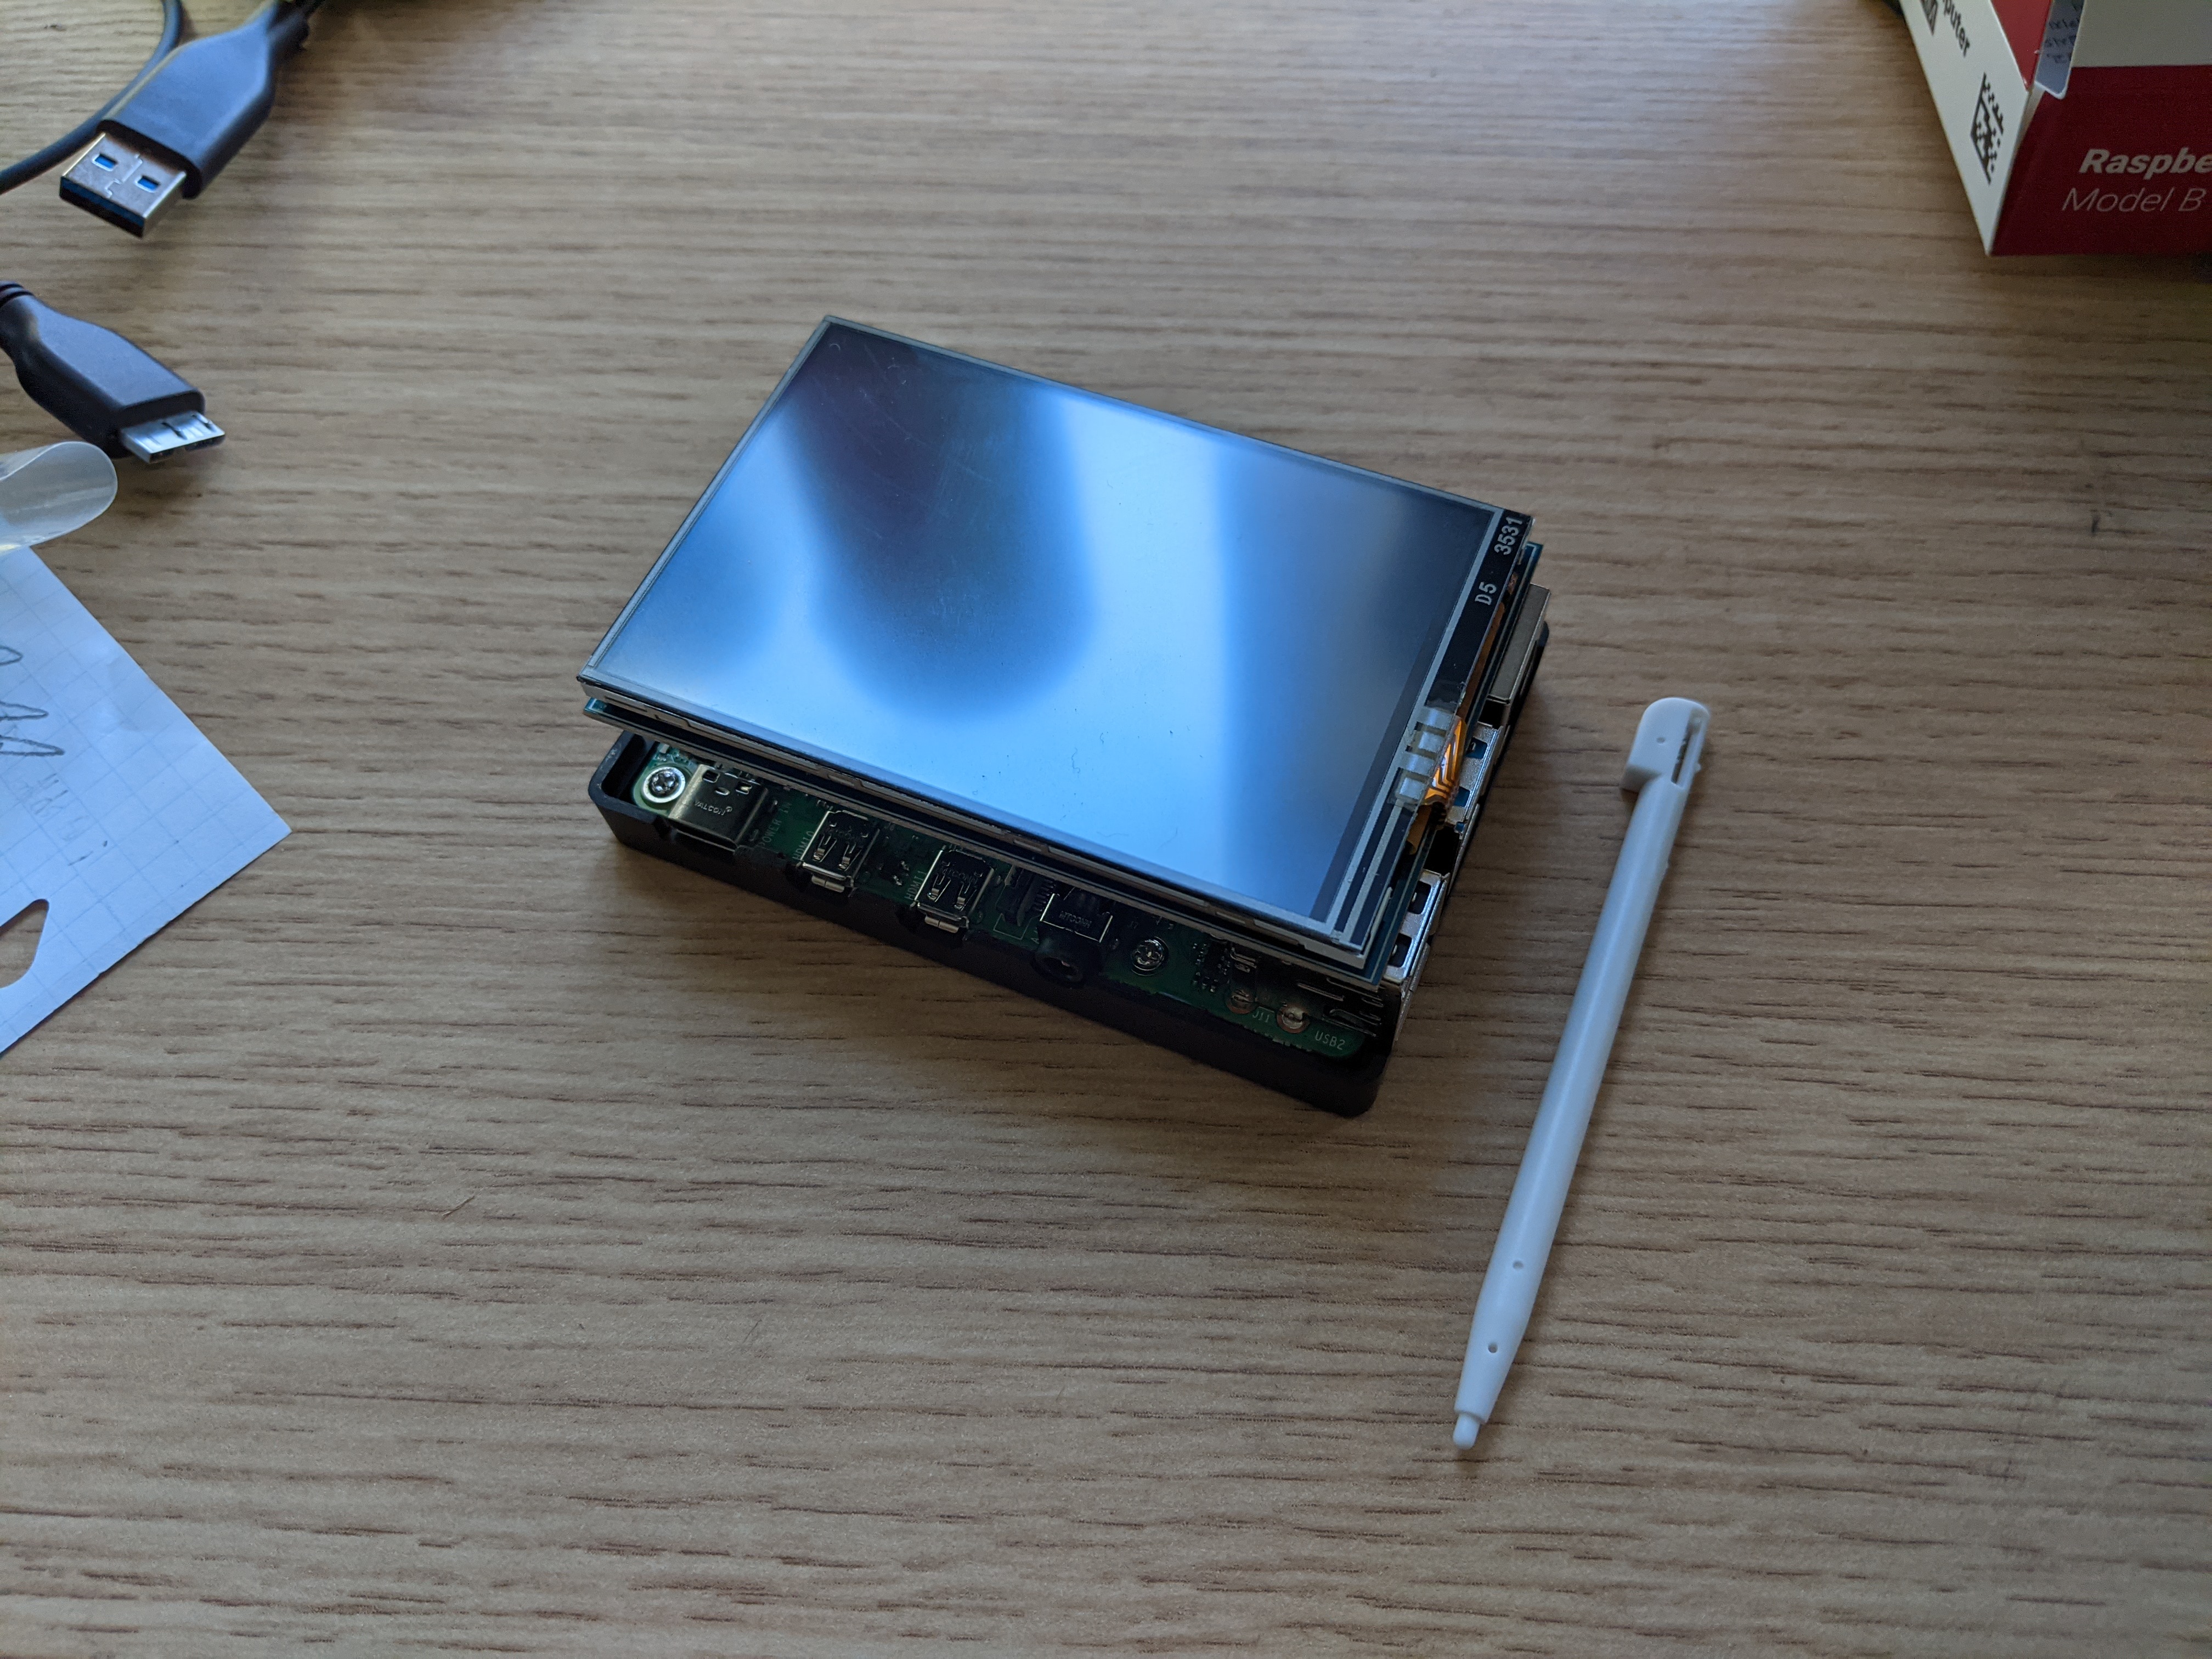
Then, I slotted the TFT screen onto the GPIO pins.
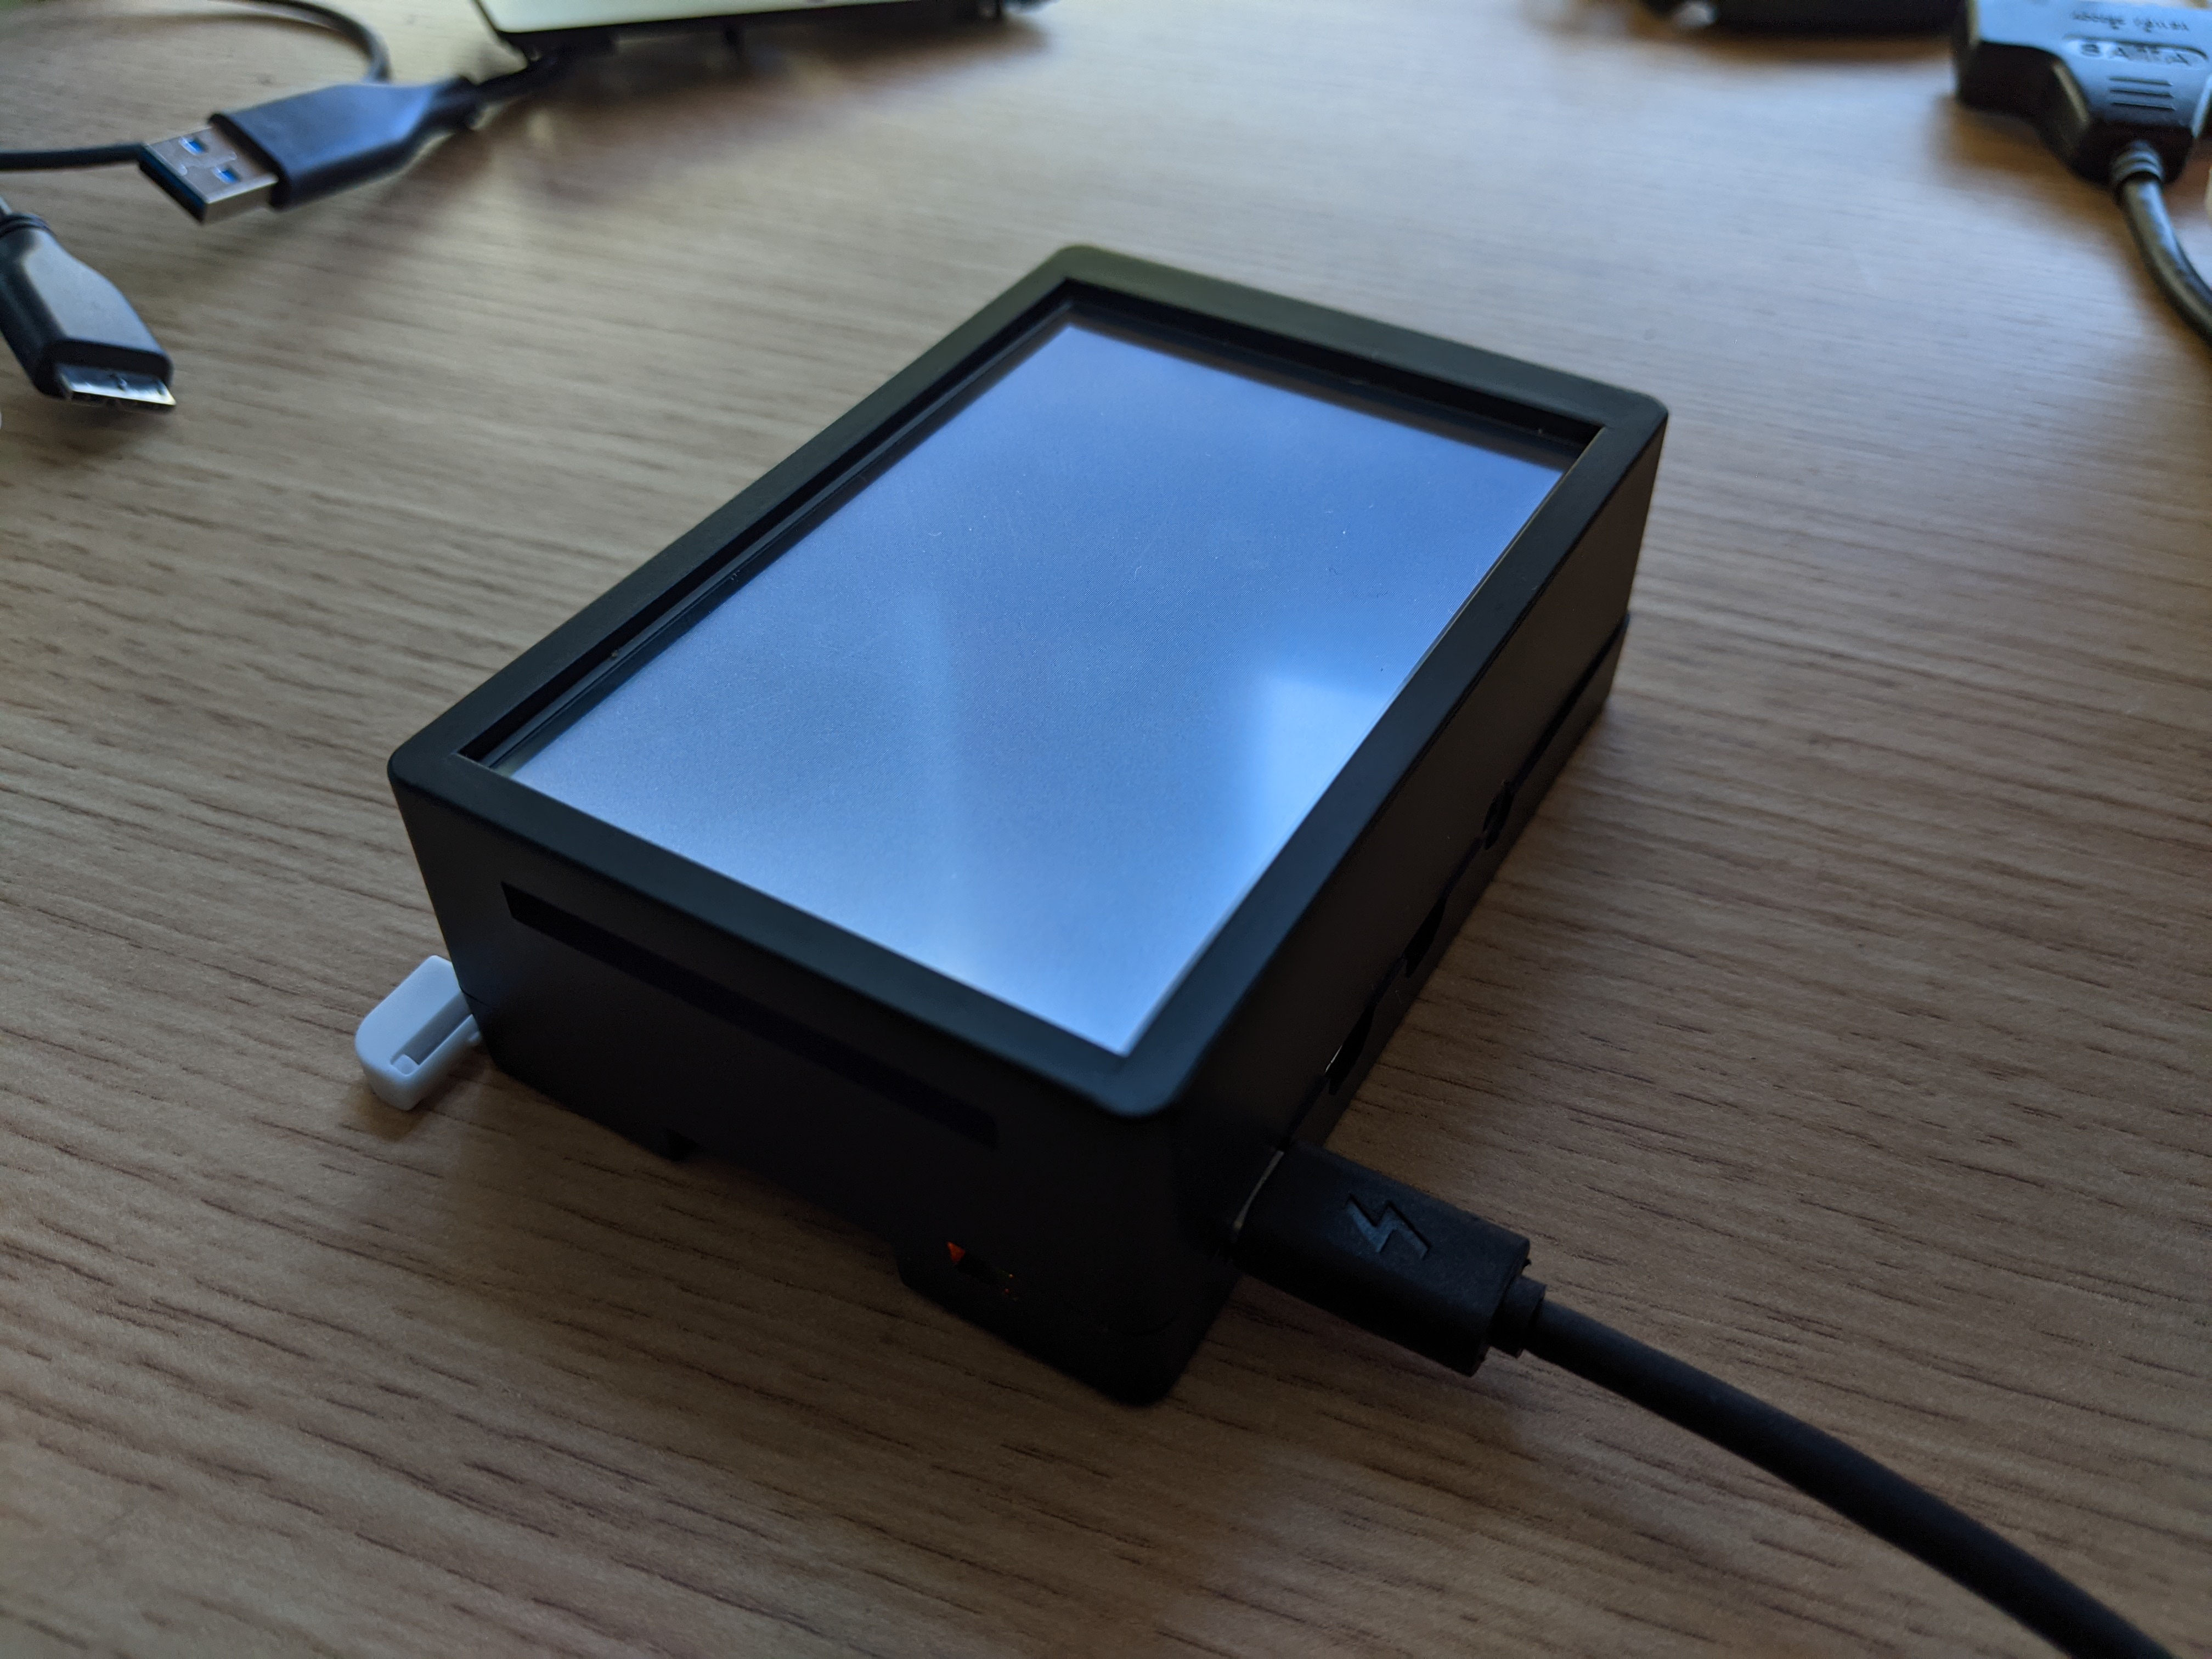
Finally, the upper part of the case had a cover (which I assume is for when you don’t have a TFT screen). I removed that cover, and the case simply snapped into place.
Testing the TFT screen
I found a spare micro SD card to install Raspberry Pi OS onto.
For my first attempt, I tried Raspberry Pi OS Lite (no X11, no desktop). Then, following some (modified) instructions from the TFT store page, I ran the following commands on the Pi:
wget https://github.com/goodtft/LCD-show/archive/refs/heads/master.zip
unzip master
cd LCD-show/
sudo ./LCD35-show
I expected it to render the standard systemd services output, but the script failed because I guess it relied on X11 being there. Raspberry Pi OS with Desktop worked, however, and I was able to see the desktop rendered on the TFT screen and interact with it via the resistive touch sensor.

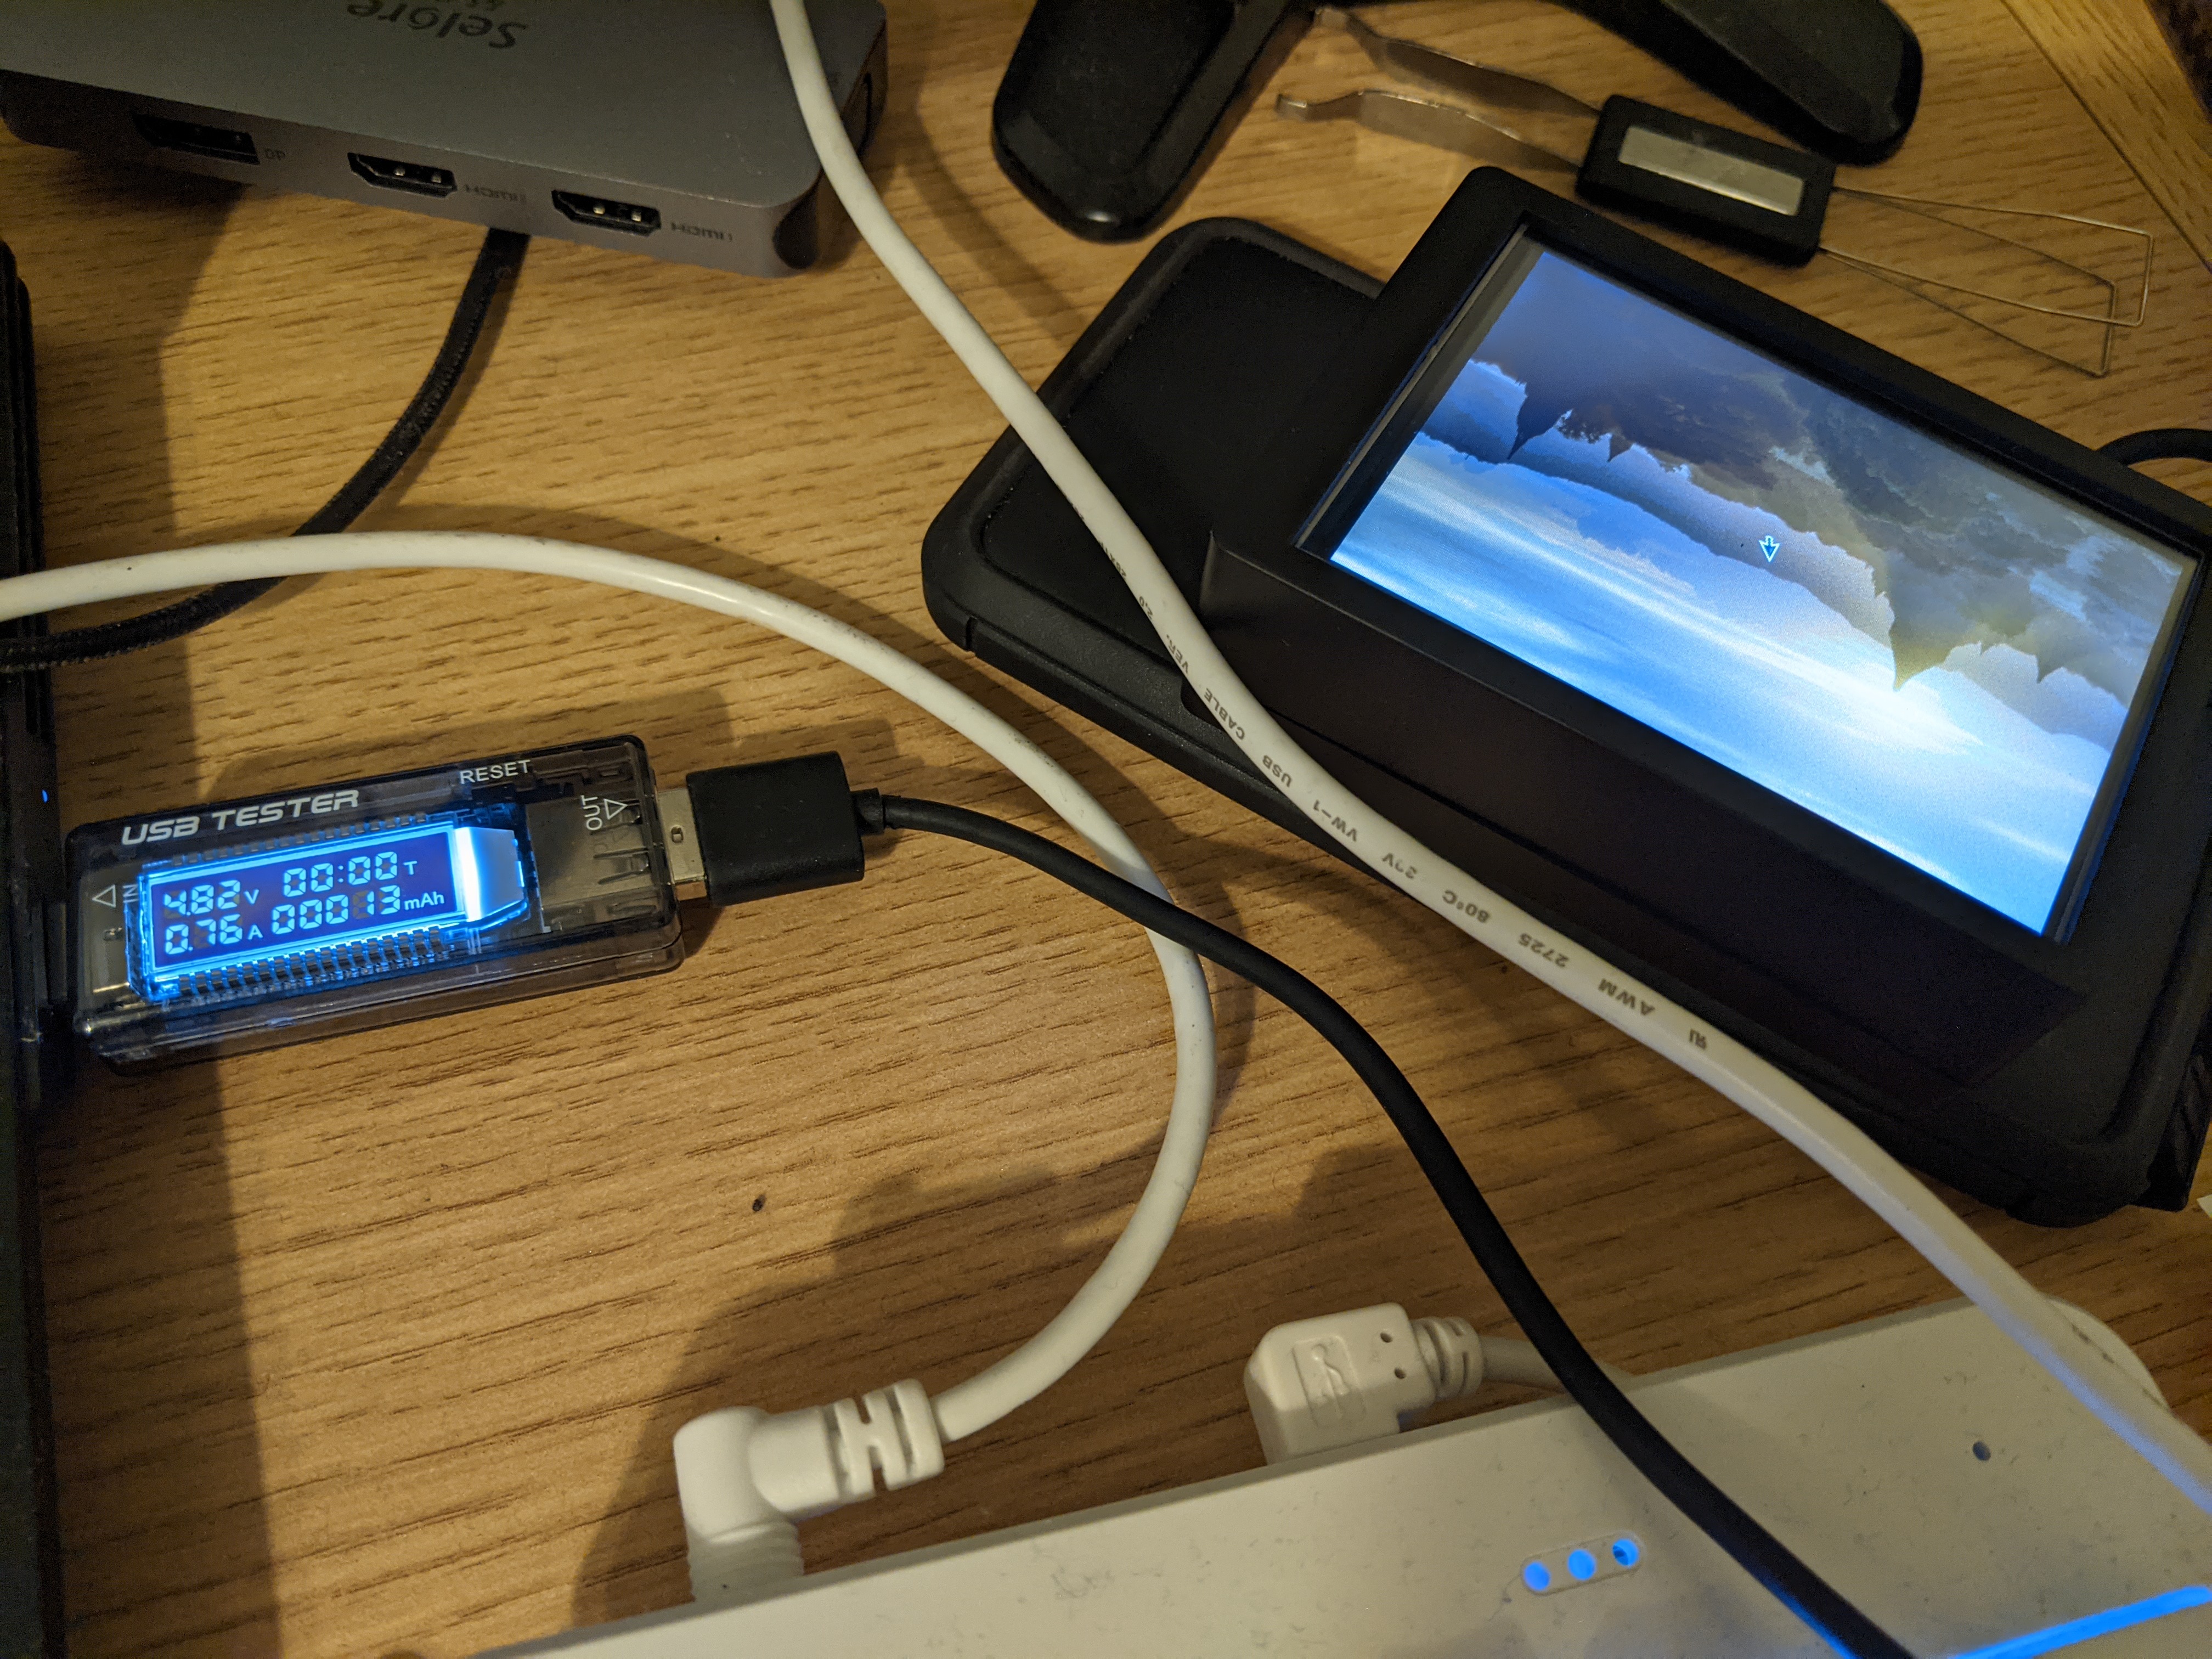
Desktop finished loading: 4.90V, 0.58A, 15mAh

I noticed that my tester is actually USB 2.0, which only provides a maximum of 10W, which may mean these results are inaccurate. However, maybe my computer’s power output isn’t that high either.
Next steps
- I want to see if I can get the kernel module and stuff working on NixOS. That will make configuration management less of a headache.
- I want to underclock the Pi to reduce power consumption.


